Tiny Glade has basic mod support with workflows centered around Steam Workshop.
Hint: modded clutter loads automatically. Other mods you need to enable per glade. Hit Escape, then MODS → GLADE MODS.
The info below is for mod authors. If you want to use a mod, check out our Workshop page instead.
This page is mostly about technical info on how the game loads your mods, basic workflows and folder structures. For more esoteric knowledge, check out the community-made Tiny Docs.
Regarding legacy mods: if you've modded Tiny Glade before, or have a zipped mod for Whiterun, you can just drop that zip into the mods folder, and the game will pick it up -- no file patching required. Note that you won't see any effect of the mod until you opt a glade into the mod from the in-game "Mods" menu.
A few things worth knowing:
Clutter are the items that spawn around windows, and can be moved around and swapped using a picker UI -- barrels, carts, pumpkins, flowers, etc. Mod-added clutter will show in the picker UI alongside the game's built-in assets.
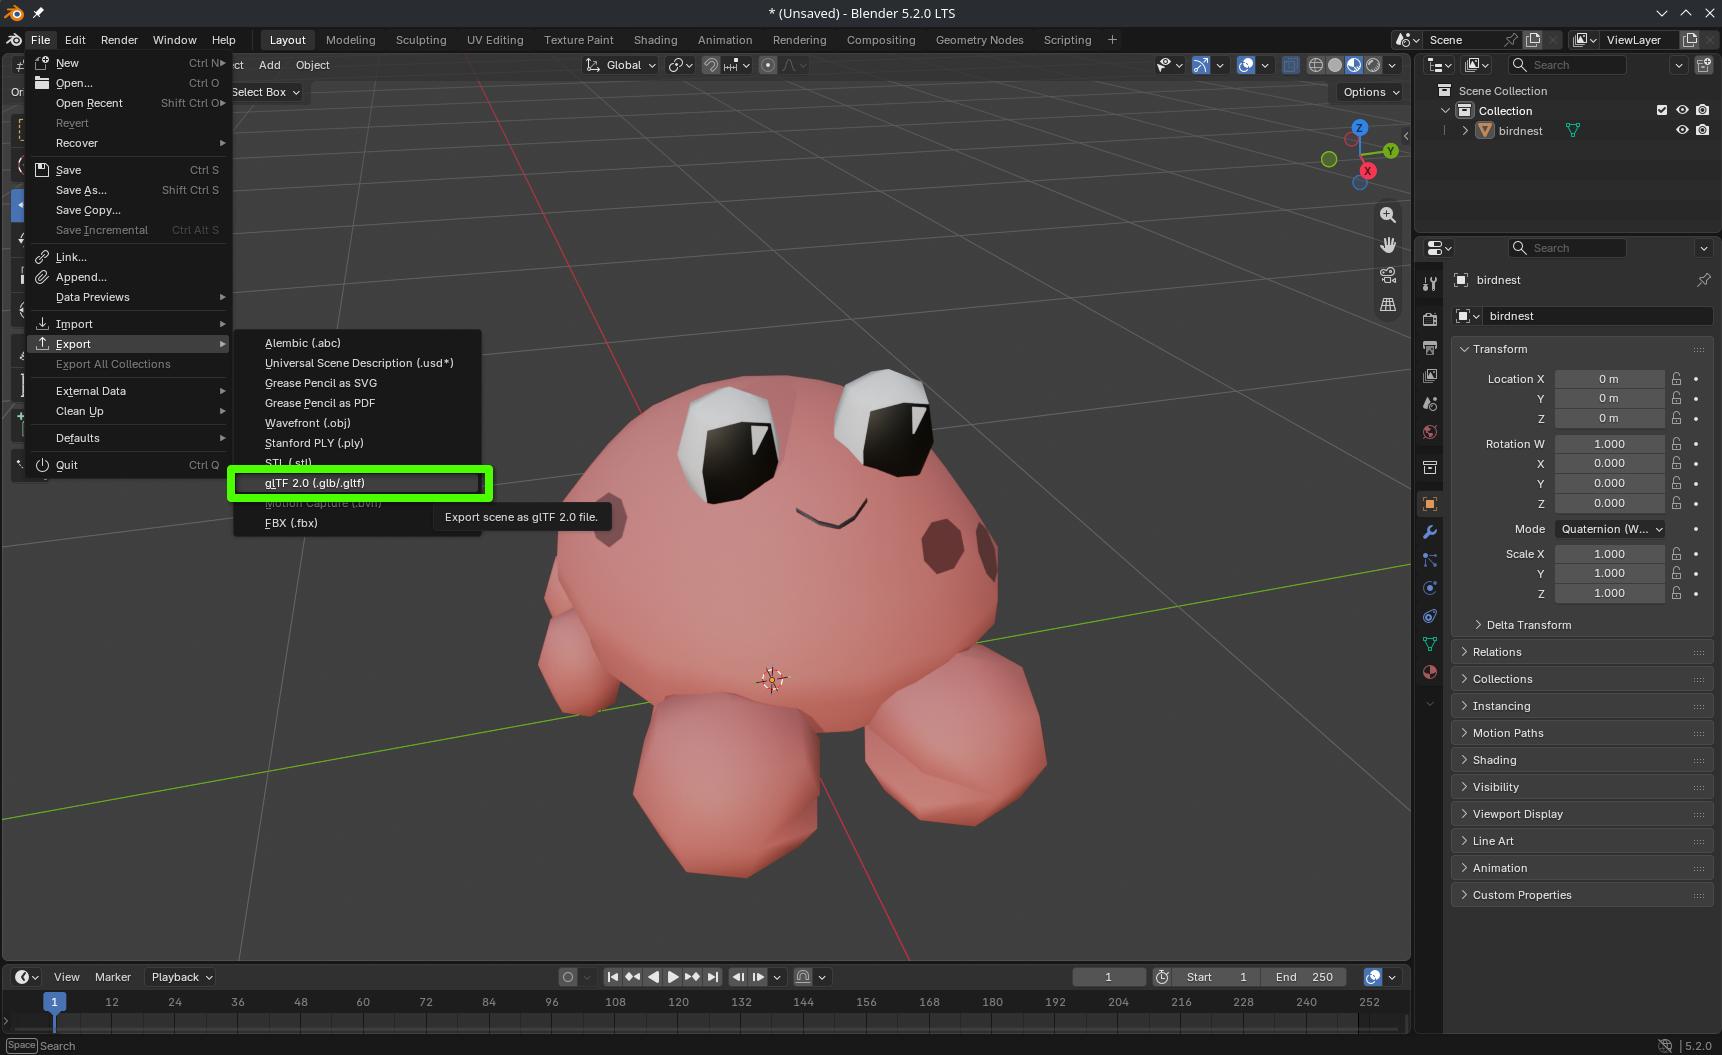
You may use Blender or any 3D authoring software that can export glTF 2.0 - compliant GLB files.
The game supports a subset of Blender's Principled BSDF workflow, limited to:
IOR is always 1.5, and there's no metal / metallic / metalness support in the engine. Textures always repeat.
Other conventions/limitations:
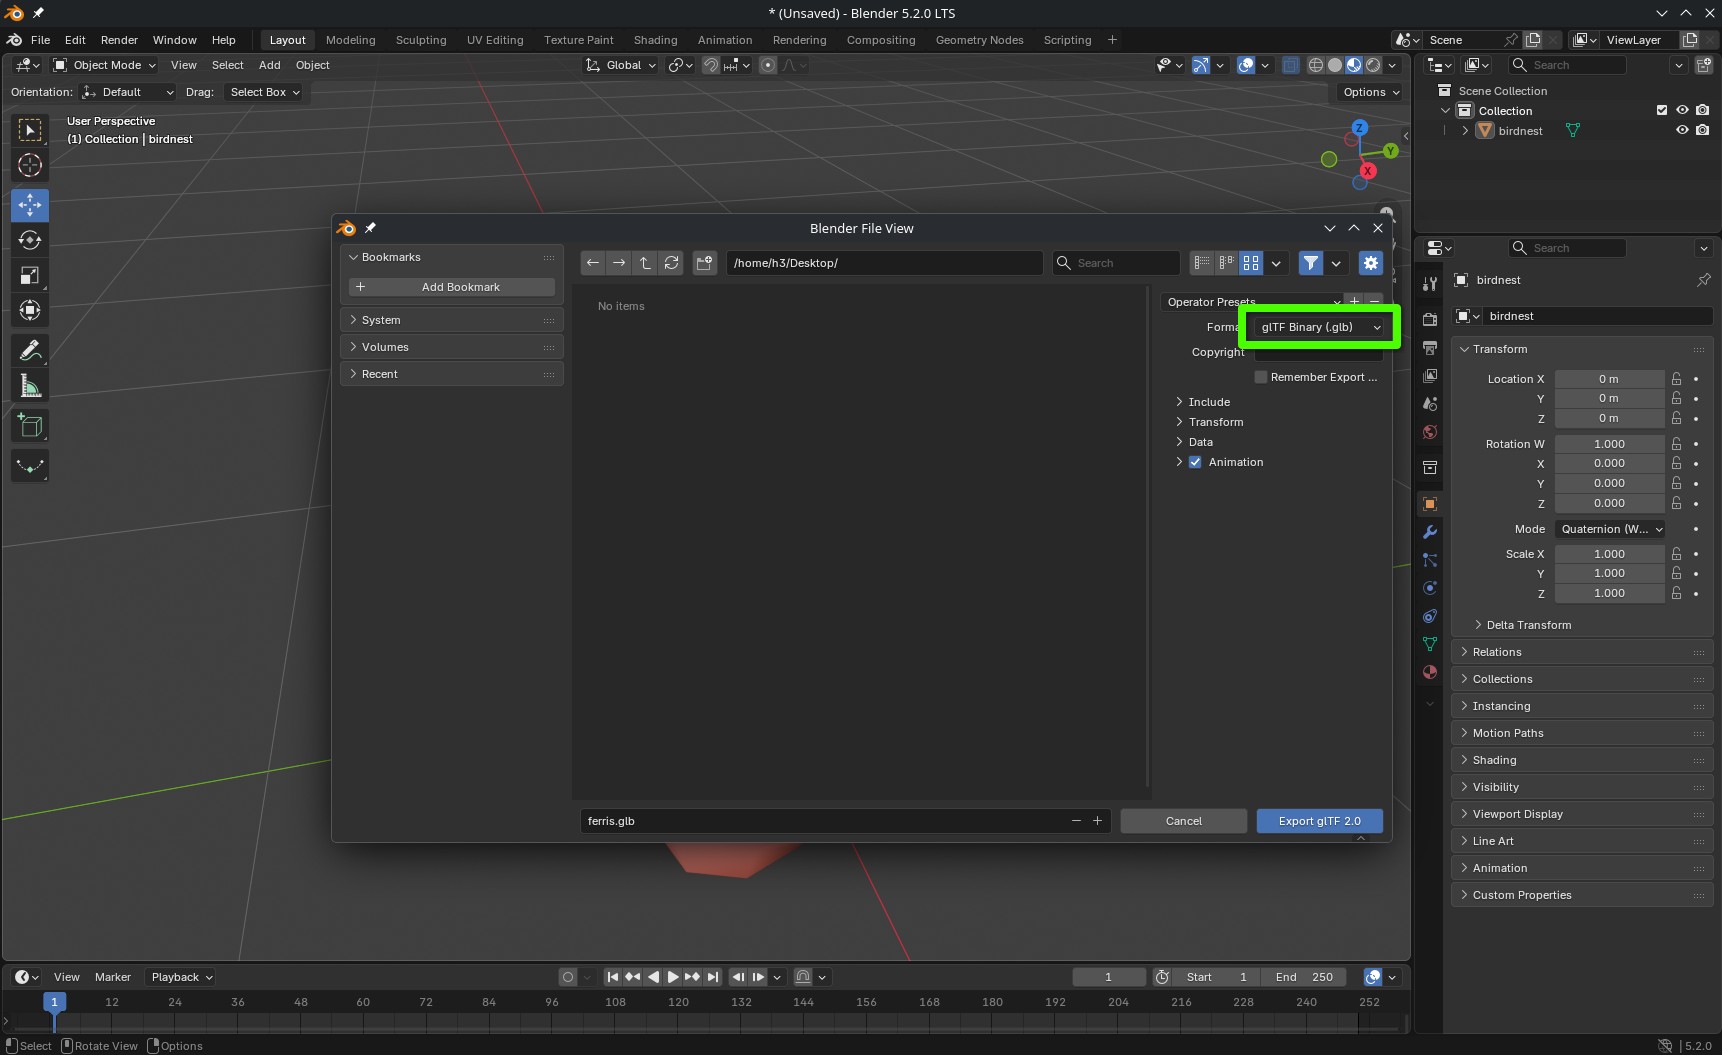
RollercoasterSeat (the node can be empty), your object can be ridden as a cart when placed on stairs in the game. The node's position determines where a player/sheep sits, and its orientation determines the forward direction of the cart. Switch the game to first person in photo mode, and walk over to try it.Export your model as glTF 2.0:
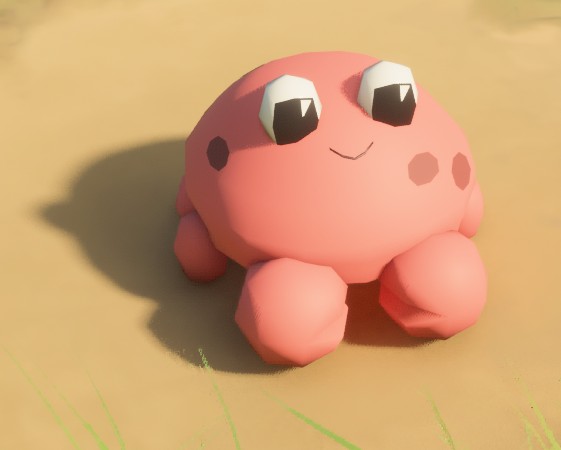
(Ferris model from Tiny Beaches by Rampion)
Save it wherever you like, but make sure you use the glTF Binary (.glb) format.
Note that the names end up in save files, must be lowercase, and may only include ASCII letters, digits, - and _. If you try to add an oddly-named file to the game, it will be automatically renamed.
Grab one of your .glb files, and drag-n-drop it onto the game window with the mod editor open. You should see a new entry appear on the list:
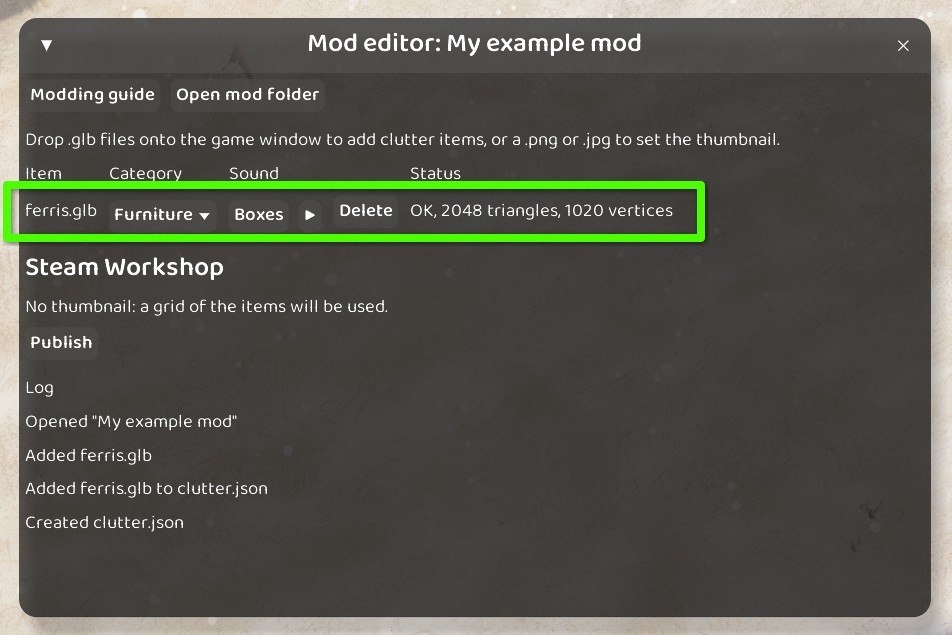
Customize any properties you want, then repeat this step for any other .glb files you want to include.
If there's a problem with your GLB, you'll see messages a the bottom of the Mod editor window.
Check that your modded items look correct in the clutter browser and inside the game. Tiny Glade does not support every feature of Blender or glTF, so it's important that you verify the look.
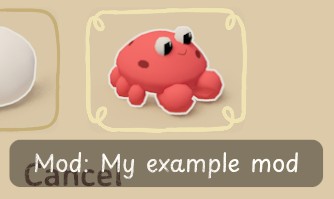
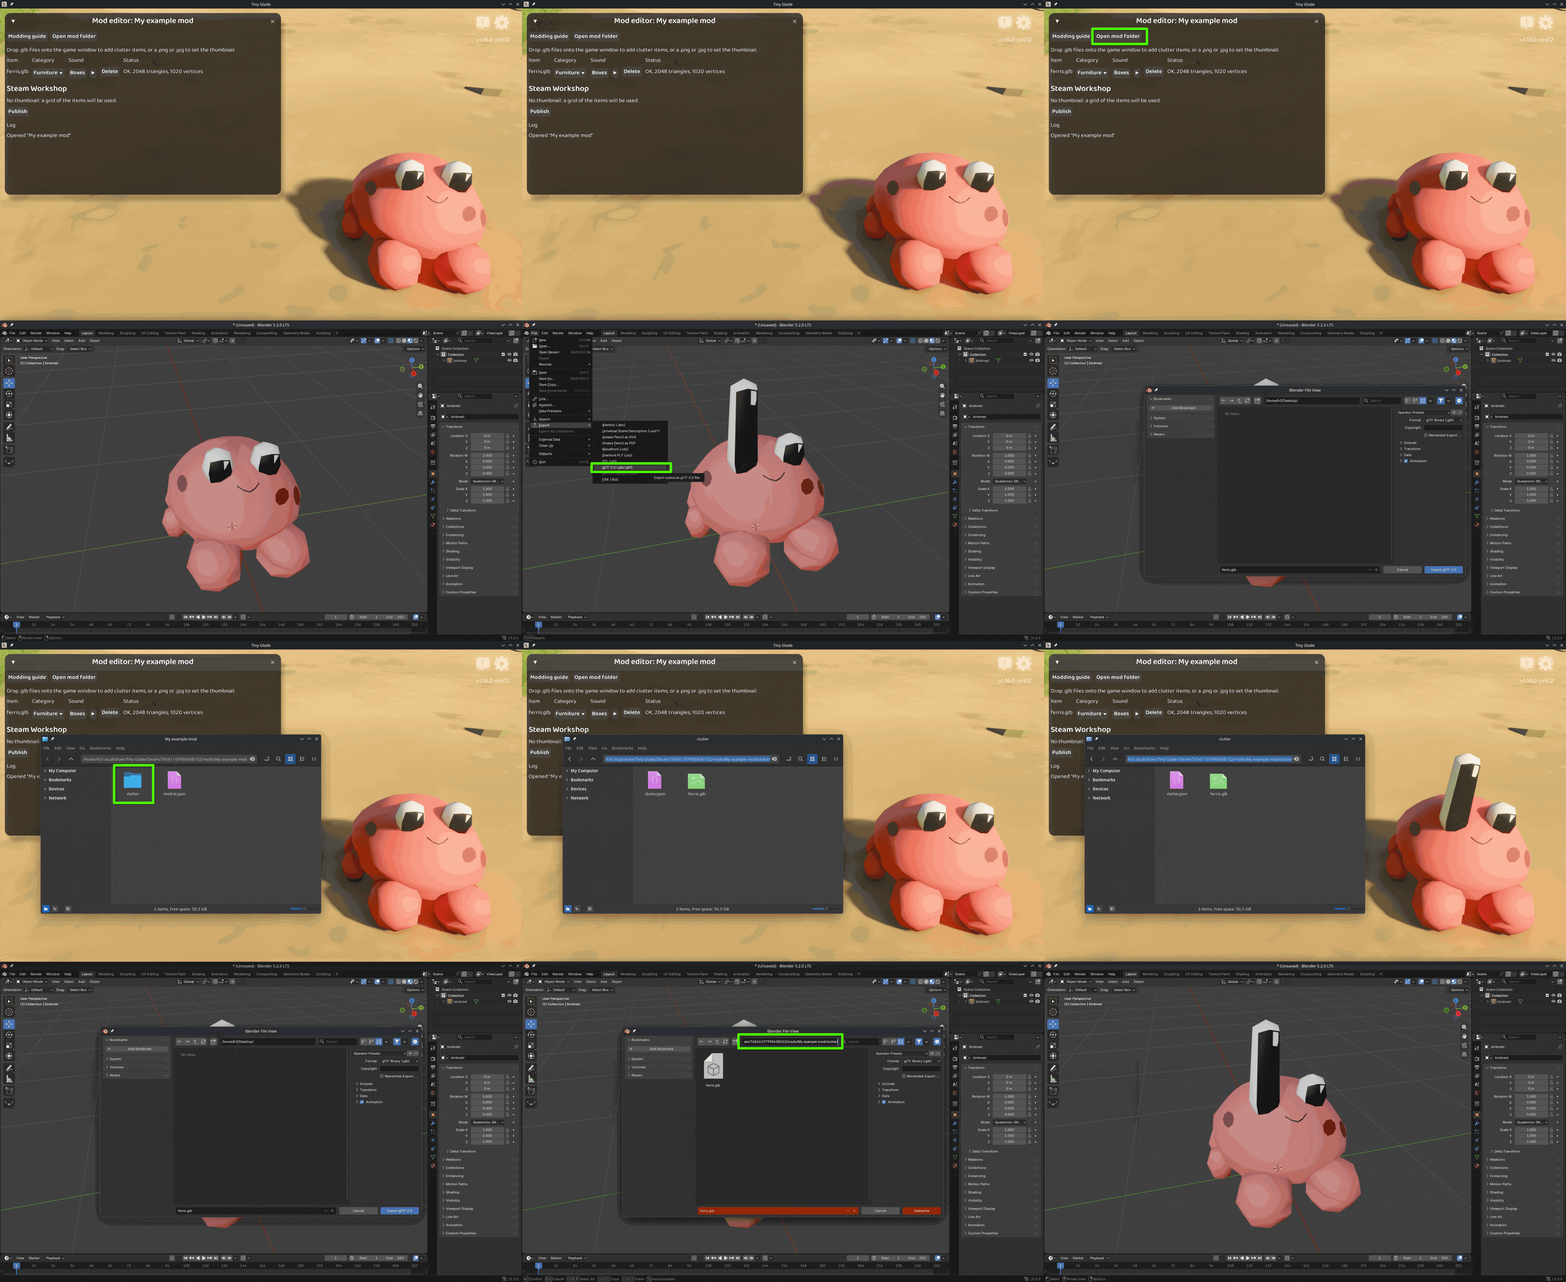
You (probably) won't get it right the first time -- iteration is king. To speed up your workflow, click "Open mod folder" in the Mod editor to find where your mod's clutter files reside. You can then directly export your updated .glb files there, replacing entries in the clutter folder. The game automatically reloads your model, so you can iterate with quick feedback.
In the mod editor, under "Steam Workshop" just click Publish.
The whole mod folder is uploaded as one Workshop item, and automatically tagged with the content it provides (Clutter, Asset Replacement, or both).
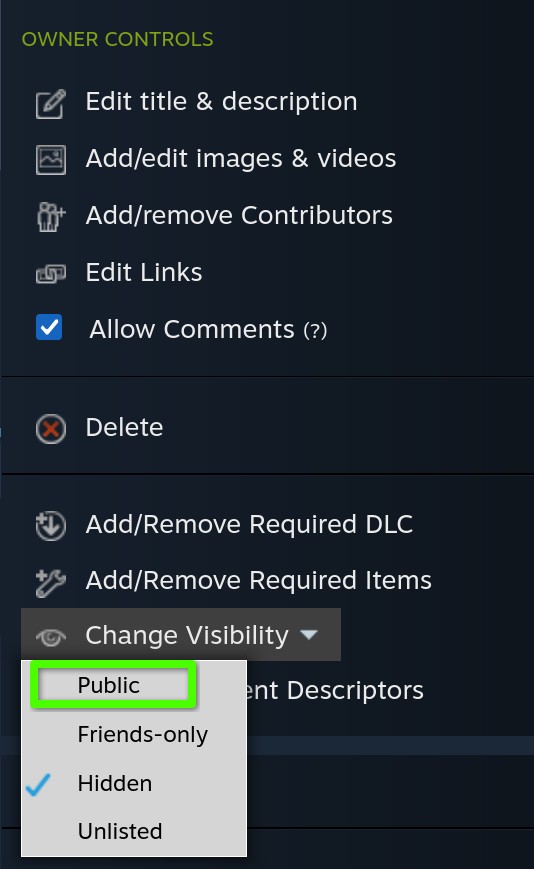
When you first publish your mod, it's private on Workshop, so you can still edit its description, add extra pictures, etc. via the website -- the game does not have any UI for that. Once you're happy with your mod's appearance, you can make it public via Workshop as well.
The publishing step creates a workshop.json file in your mod's folder. It stores the mod's "file ID", as Steam calls it, and is the connection between your local mod and Workshop. Don't edit or delete this file.
The game uploads all files and folders except those starting with the "." character, so e.g. your ".git" repository / history won't be uploaded.
Thumbnail image
You can drag a JPEG or PNG image onto the mod editor to set the image as the thumbnail for Workshop. Note that while you can add extra images to illustrate your mod via the Workshop website, a thumbnail can only be changed through in-game publishing -- so if you need to change the thumbnail, re-publish the mod (don't delete it -- you can update an existing one from the mod editor).
Note that a thumbnail image is optional for clutter mods -- the game will generate a preview of your clutter items into a grid image (with up to 16 clutter items) similar to what's in the picker UI. But if you do provide a thumbnail image, that replaces the auto-generated clutter thumbnail.
Local iteration
While workshop.json is there, your local mod files take precedence over what's in Workshop, so even if you subscribe to your own mod, you'll see your local version.
Updating
Just hit "Publish update" in the in-game mod editor.
If you want to share your mod with another modder or a player, you can just zip it and send it. Whoever receives it can drop it straight into their mods folder. You can also share a git repository pointed to by TINY_GLADE_MODS_DIR if you're feeling fancy.
If adding clutter isn't quite your vibe, and you'd like to replace a built-in texture, you probably want to know what you can replace, and how it looks by default.
We got you -- the game can dump all of its textures into a folder as PNGs. You can then cherry-pick any files, copy them into your mod, and modify as you please.
The export button lives in a hidden developer window. To unleash it:
The setting is saved, so you only need to do this once. If you'd rather not engage with arcade-era rituals, you can also edit a config file instead :P Open settings.ron in your profile folder (next to saves and the default mods location) and set internal_hotkeys to true in the dev section. Then restart the game.
Load any glade and press Tab. A HAAAAX window appears on the left. Open the Gfx section and click Export game textures.
This will take a few seconds. Almost* every texture the game ships is written out as a PNG into an exported-textures folder (next to saves), using the same names and folder hierarchy that your mod can use.
* A few things aren't exported, and can't be replaced using regular mods: grass/flower assets (which have a complicated LoD pipeline), menu artwork, clutter picker icons (those are auto-generated from meshes), a few internal LUTs.
Make a textures folder inside your mod, and copy any texture you want out of exported-textures, preserving the path and name, e.g.
exported-textures/wall/bricks.png → mods/Cheese bucket collection/textures/wall/bricks.png
Then edit the texture with a program of your choice (Krita, mspaint, vim) and resave the file.
Remember to opt a glade into the mod (Escape → MODS → tick → Apply) to preview it.
You can keep the game running while editing your mod, and whenever you save a texture, the game will reload it.
Try not to go too crazy with texture sizes -- many Tiny Glade players don't have the most recent and powerful computers. Larger textures will also take more time while iterating because the game's built-in asset pipeline auto-generates mipmaps and compresses textures on the fly (and on the first install for new mod users).
0.png, 1.png, 2.png … To replace an arrayed texture, just provide your own numbered images; you can use a different count, but note that the sequence starts from 0 and cannot have gaps.assets/glade/**/textures.jsonAlmost anything under assets/ in the game's installation can be replaced by placing a file at the same relative path under assets/ in your mod:
Cheese bucket collection/
└─ assets/
    ├─ meshes/clutter/barrel_w_plantpot.json    a different barrel; probably with more cheese
    ├─ luts/my_cheesy_grade.png                 a new photomode look
    └─ glade/summer/trees.json                  summer's tree setup, if it needs more cheese
The shipping JSON meshes are rather special, and have deep lore that depends on the shader that they're drawn with. You may want to consult the community notes if you want to mess with them:
Note that directories are merged rather than replaced -- so e.g. dropping a uniquely-named .png or .cube into assets/luts/ adds a photomode LUT rather than hiding the game's own.
Just like textures, and clutter, JSON meshes hot-reload while the game is running. Other asset types are only parsed at startup or glade load.
Those are just ye olde .cube files. They use Rec.709 input & output, and can be authored e.g. with DaVinci Resolve.
Mods go in a mods folder next to saves, configs, etc:
%USERPROFILE%\Saved Games\Tiny Glade\Steam\YOUR_STEAM_ID\mods
C:\Users\YOUR_USER_NAME\Saved Games\Tiny Glade\Steam\YOUR_STEAM_ID\mods)~/.local/share/Tiny Glade/Steam/YOUR_STEAM_ID/modsYou may create the mods folder if it isn't there yet. Each folder (or zip file) directly inside is a separate mod.
If you'd rather keep your work somewhere else, set the TINY_GLADE_MODS_DIR environment variable to that path, and the game will use it instead of the default mods folder.
A mod lives in a folder. Everything in it is optional, but it must contain something that the game recognizes as moddable content:
mods/
└─ Cheese bucket collection/
    ├─ mod-id.json              the game creates this; no touchy.
    ├─ thumbnail.jpg|png        used as the Workshop thumbnail
    ├─ textures/                replacement textures, as JPEG/PNG images
    │   └─ clutter/
    │       └─ wood.png
    ├─ assets/                  replacement meshes, grading LUTs, glade configs, …
    │   └─ meshes/
    │       └─ fish.json
    └─ clutter/                 your own placeable props
        ├─ clutter.json
        └─ beehive.glb
The game figures out what your mod does by checking which of those are present:
textures/, assets/ or compiled-assets/ -- it's an asset-replacement mod.clutter/clutter.json plus GLB files -- a clutter mod.A mod can be both types at the same time.
Note that the folder and file names are case-sensitive and must be lowercase. Otherwise e.g. Textures/ would work on Windows, but fail on Linux or macOS.
Here's an example mod that adds a candle as a new clutter asset.
mod-id.jsonWhen the game first detects your mod, it writes a mod-id.json file into the folder. That file is your mod's identity: glades record it to reference modded content.
Key points:
mod-id.json within that matters.A .zip in the mods folder works too, so if you share a mod with someone outside of Workshop, they can just drop it into the mods folder without unpacking it. Note that a mod can't be published while it's a zip.
If the zip doesn't contain a mod-id.json inside it, the game writes one next to the zip instead, named {zip name}.mod-id.json. If you later extract the zip, move that file into the unzipped folder, renaming it to just mod-id.json. The game deletes orphaned {zip name}.mod-id.json files, so you'll want to do that before you re-launch it.